No-Code Chatbot : Widgets/Nodes
Last update:
iSlash AI’s no-code chatbot lets you automate responses to customer questions, streamline support, and boost engagement—all without writing code. From guiding users through product selections to handling bookings and FAQs, you can easily design conversational flows that work 24/7 to support your business.
No-code Chatbot User Guide Series:
1. Introduction
2. Build Smart Automation with Campaign Specific Triggers
3. Components/ Widgets 📌
Let's discuss all Chatbot function components/widgets in this article.
Setup Requirement
iSlash AI account, register a free account here.
Basic understanding of No-code Chatbot interface from this user guide entry.
Chatbot function components
|  |
|---|---|
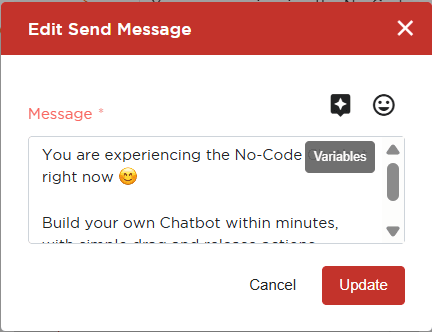
Use multiple Send Message function to break long messages or act as a description before sending media, e.g. | 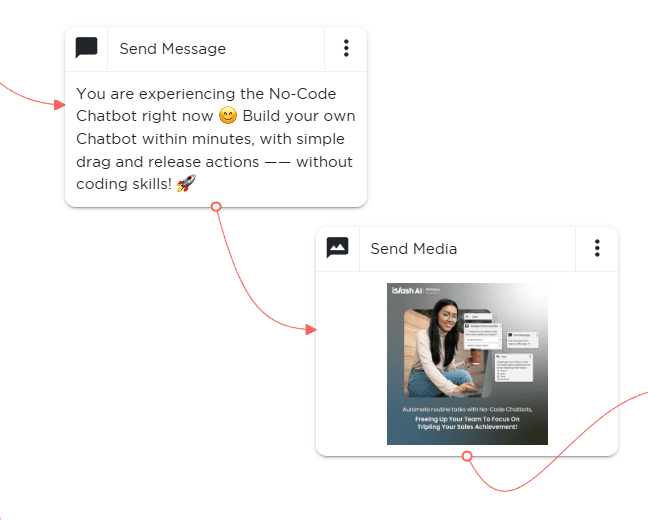 |
|  |
|---|---|
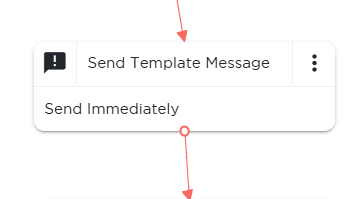
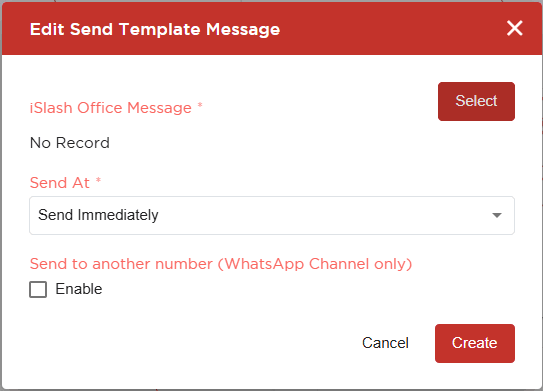
Edit Send Template Message :
|  |
|  |
|---|---|
Click "Edit" from the widget menu, to update the media without disturbing the chatbot flow: |  |
|  |
|---|---|
First go to Settings > left panel menu: Sticker > Upload a WebP file with a resolution of 512px x 512px. |  |
|  |
|---|---|
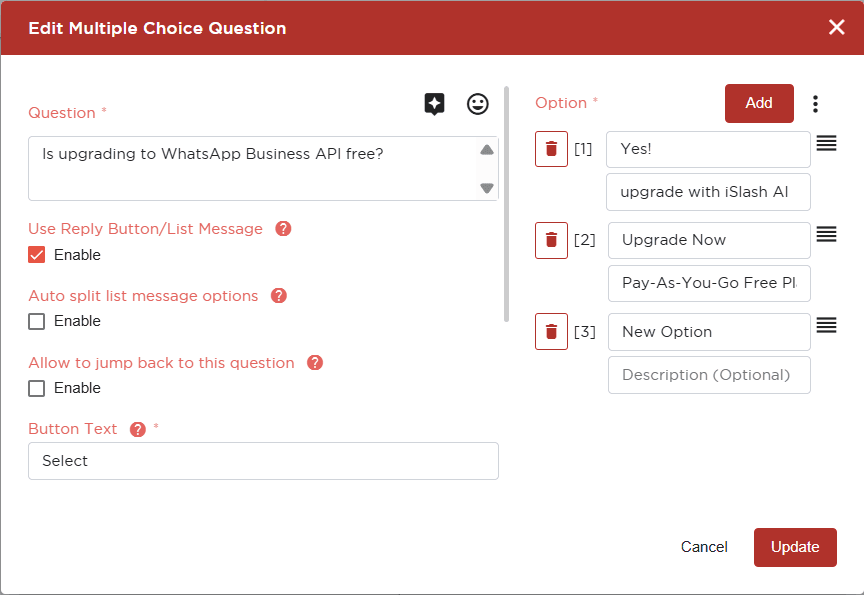
Customizing MCQ:
|  |
| 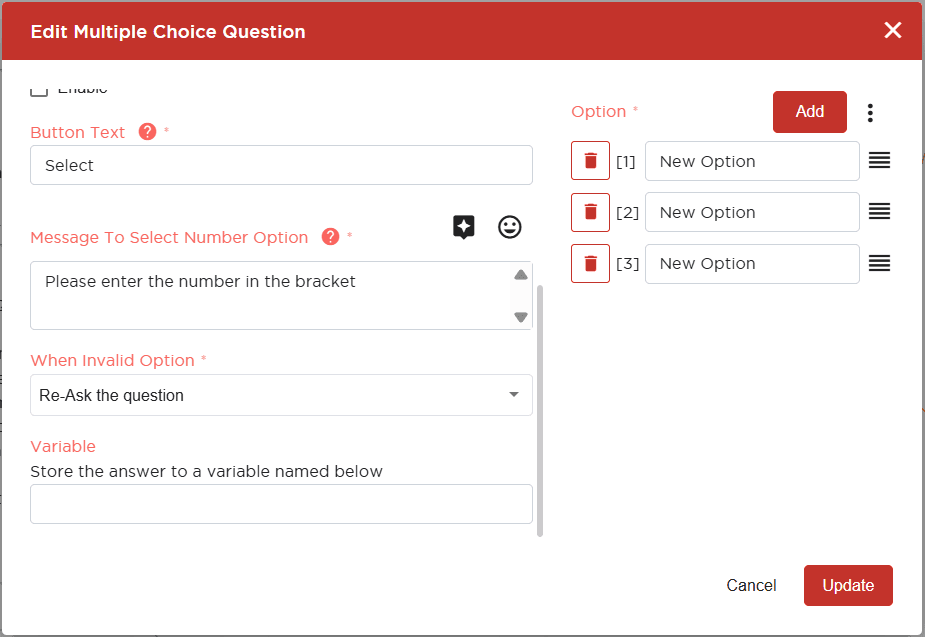 |
MCQ Option: Add one or more option for user to answer your question. |  |
Edit Date Options: Enable businesses to provide a range of date as MCQ buttons. Click the 3-dot menu next to "Add" button to enable : | 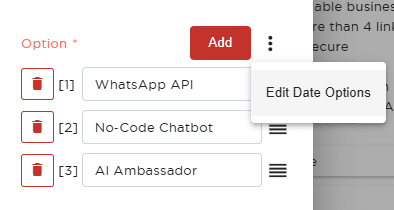 |
Edit Date Range :
|  |
|  |
|---|---|
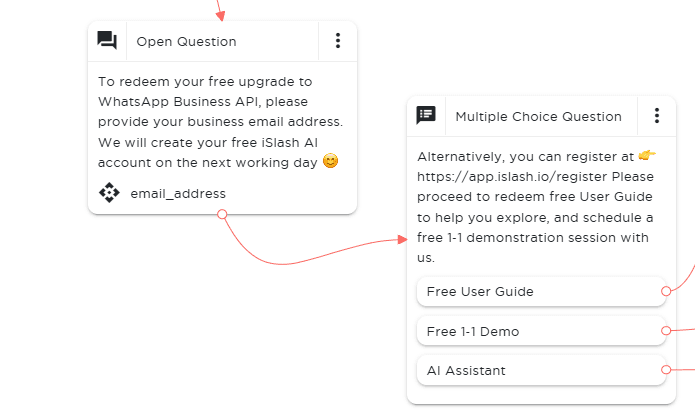
Customizing Open Question:
|  |
|
|---|
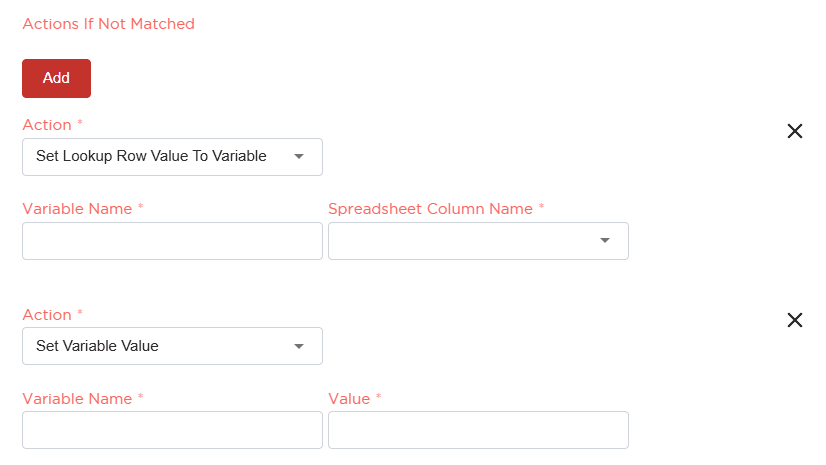
Setting up Spreadsheet Lookup 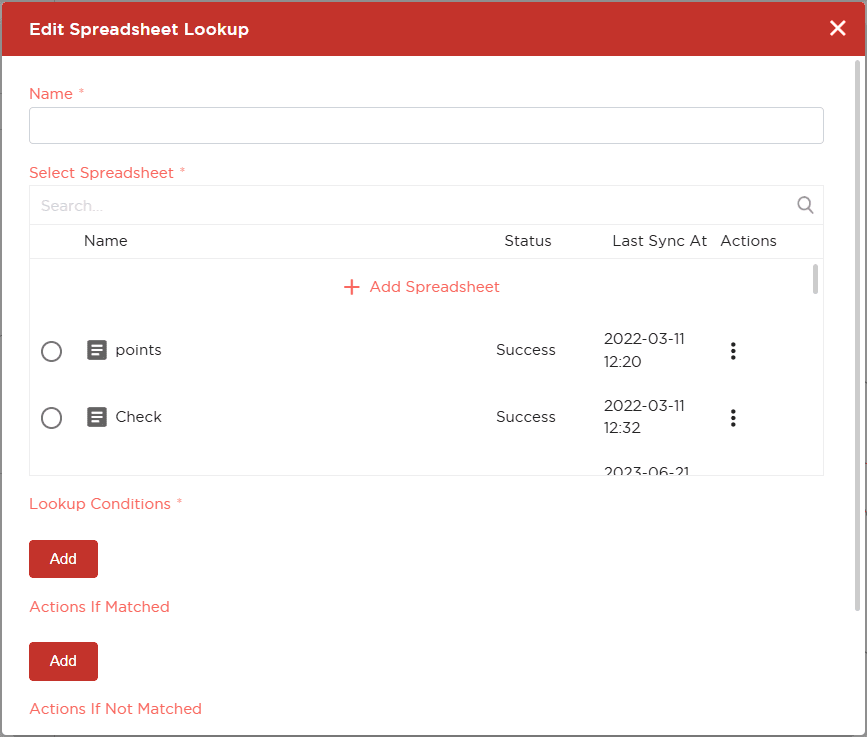 |
|


|  |
|---|---|
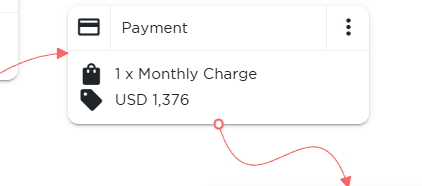
Edit Payment :
Learn more about setting up In-App Payments. | 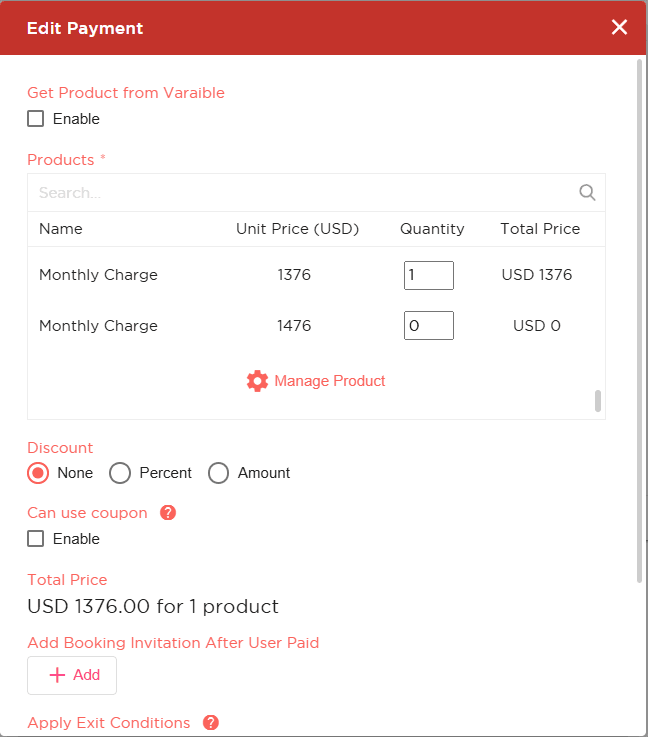 |

|  |
|---|---|
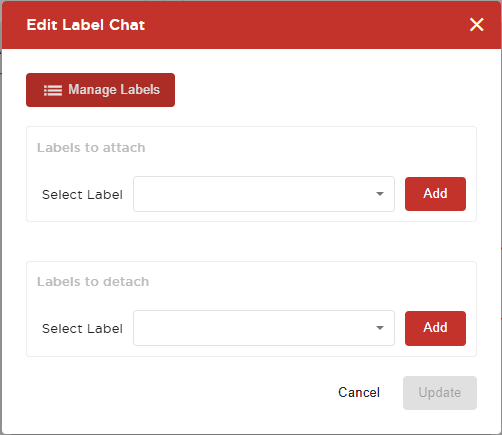
Edit Label function: Select from the drop down list and click "Add".
|  |
|  |
|---|---|
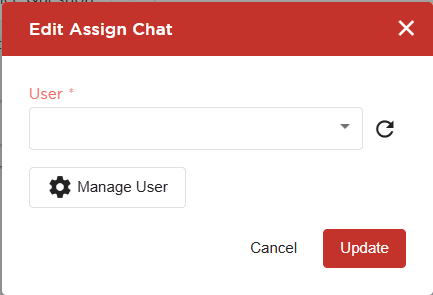
Automate Chat Assignment by adding this widget to the chatbot flow - Select User from drop down list > Click "Update" to complete the widget setup. |
|  |
|---|---|
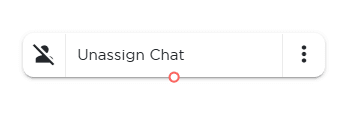
Add this widget to chatbot flow to unassign Chat. |
|  |
|---|---|
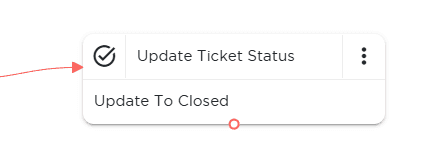
Edit Update Ticket Status : | 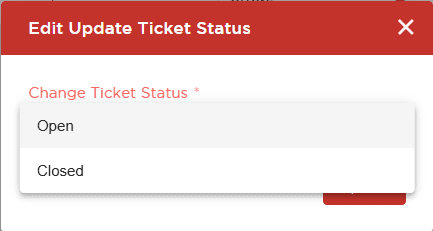 |
|  |
|---|---|
Edit Roster :
Please refer complete user guide on Roster. | 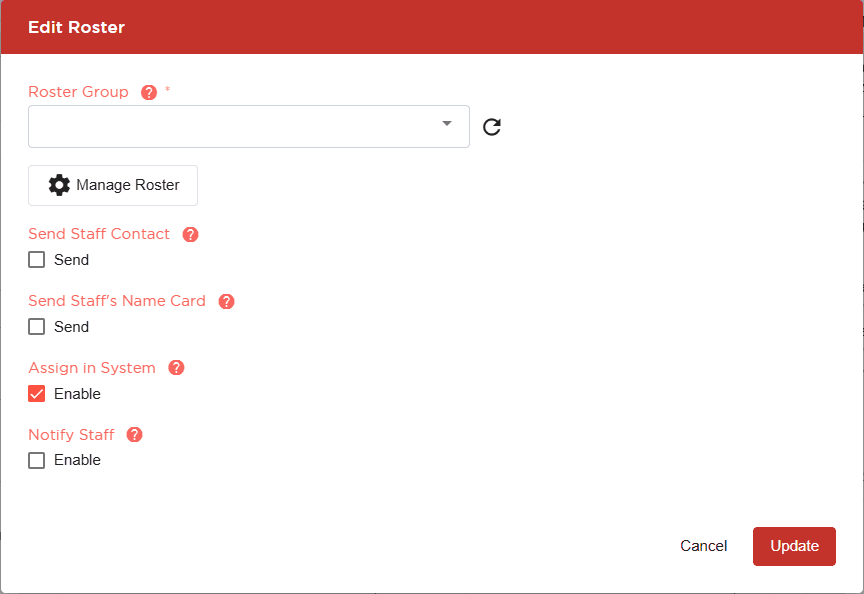 |
|  |
|---|---|
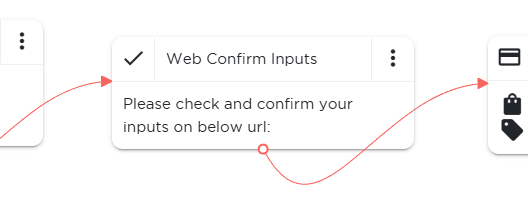
System automatically generate and send a link to webpage (with the Open Questions and answers). | 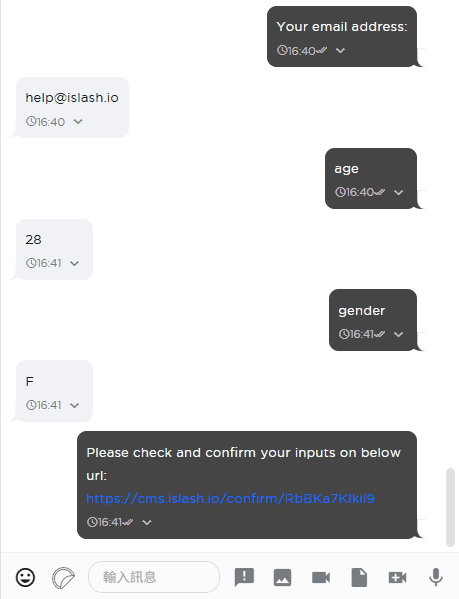 |
Customers are to go to link to review, update and confirm. System will proceed with next chatbot action once customer confirms. | 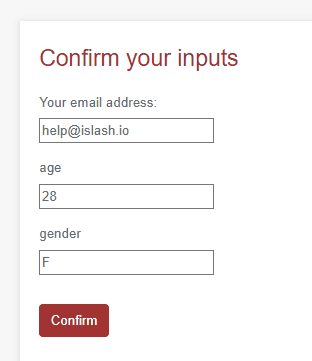 |
Customizing Web Confirm Input Message : | 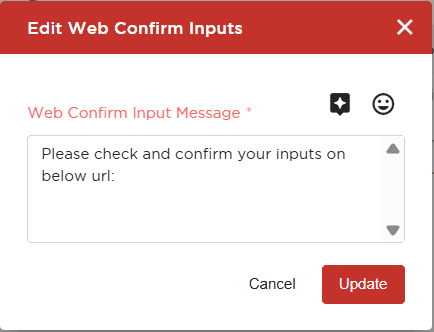 |
|  |
|---|---|
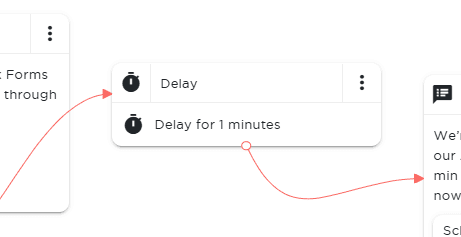
Delay a chatbot action for up to 12 hours. |  |
|  |
|---|---|
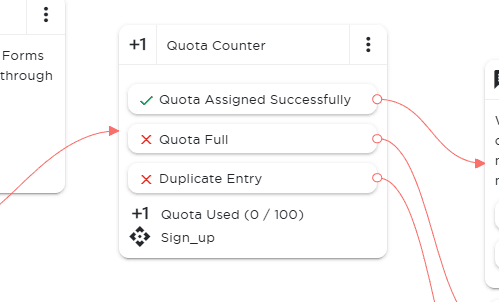
Customizing Quota Counter:
|  |
|
|---|
Please refer iSlash API Documents. |
|  |
|---|---|
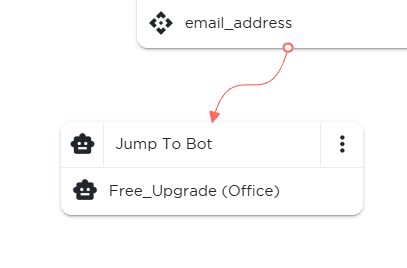
Edit Jump To Bot :
|  |
|  |
|---|---|
Edit Coupon Distributor :
|  |
|
|---|
Learn more about setting up AI Assistant. |
|
|---|
Learn more about setting up AI Node. |
|
|---|
Learn more about creating WhatsApp In-App Form. |
|  |
|---|---|
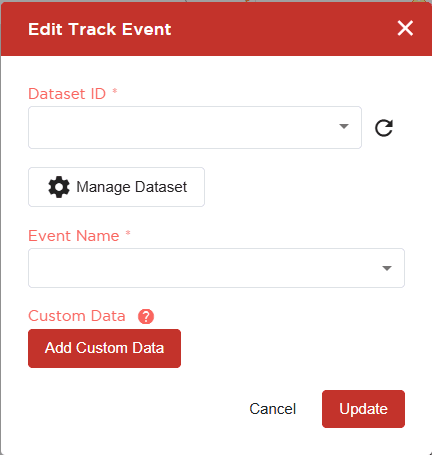
Edit Track Event :
|  |
|  |
|---|---|
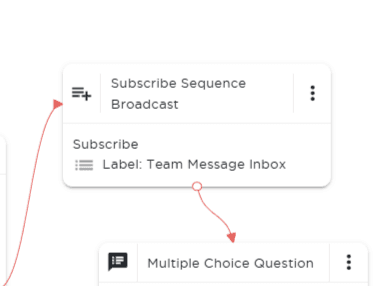
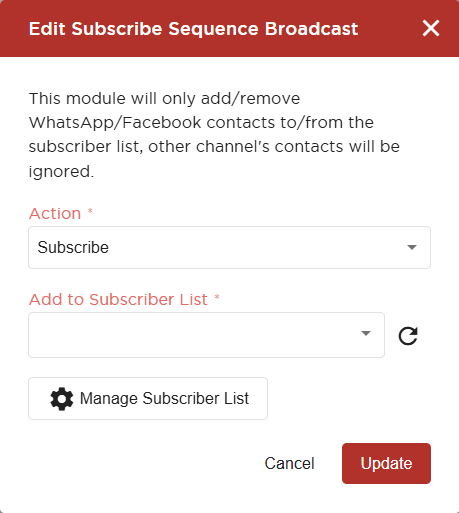
Edit Subscribe Sequence Broadcast :
|  |
|  |
|---|---|
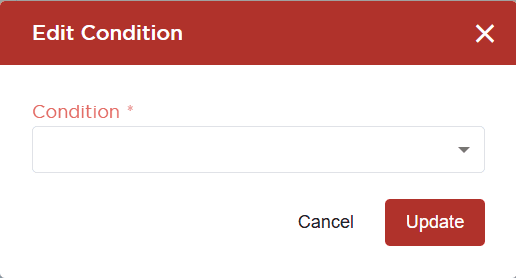
The Condition widget split the automation flow into 2 paths:
|  |
Condition (select Variable)
| 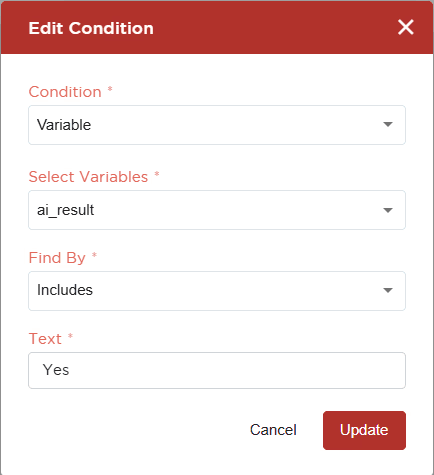 |
Condition (select Label)
| 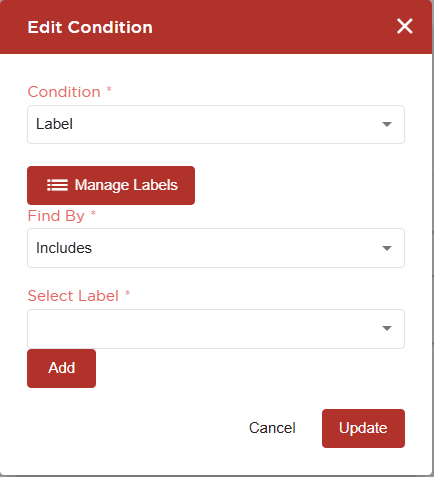 |
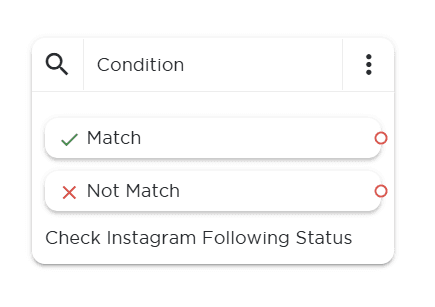
Condition (Instagram Following Status) : iSlash AI system retrieve data on whether the user is a follower or your integrated Instagram Channel.
|  |
Insights


Does iSlash AI offer AI Agent and Chat Automation building services?
Yes, please reach out to us for customer journey planning and automation flow building services. Support charge applies.