Labels Management
Last update:
With iSlash AI, managing customer labels across multiple platforms becomes effortless. Whether manually or automatically, iSlash AI makes segmentation efficient, scalable, and effective.
Smarter Customer Segmentation
When running Broadcasts Campaign, you can easily filter customer contacts using labels.
Setup Requirements
An active iSlash AI account, register a free account here.
Completed one or more channel integrations:
Completed customer contacts import.
Step-by-step Guide
Logon to iSlash AI Platform at https://app.islash.io/
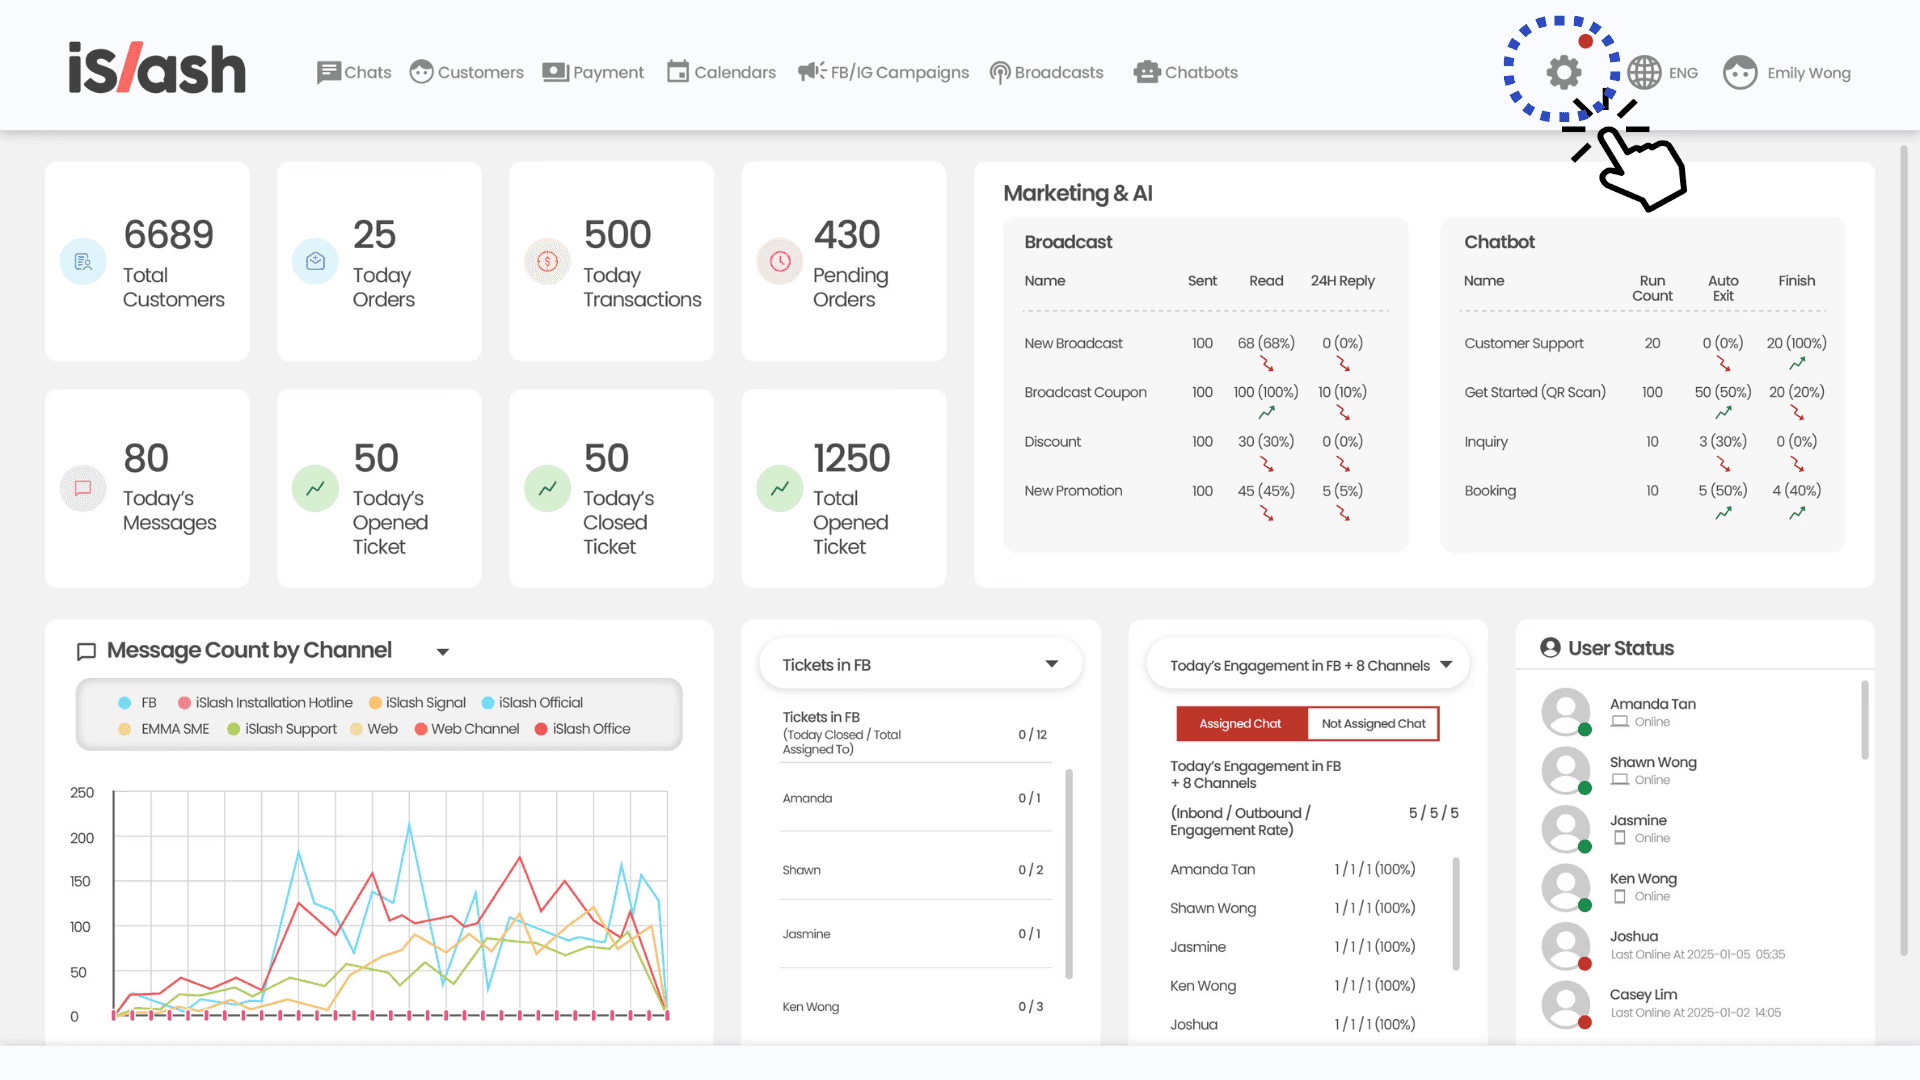
Go to Settings:
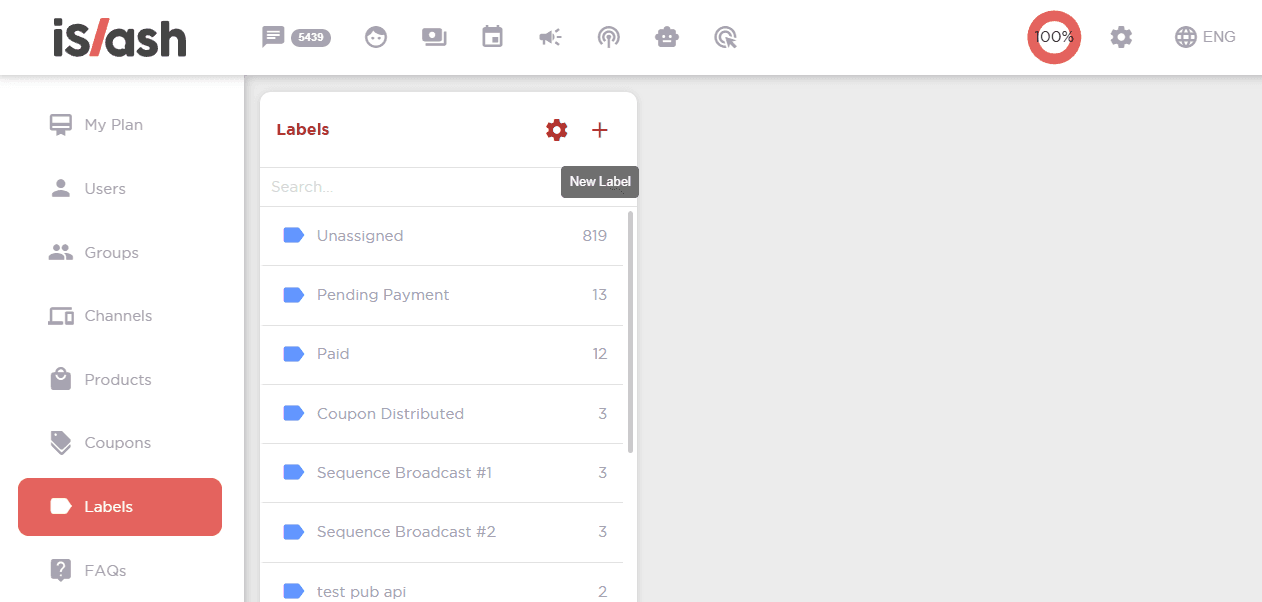
Go to Labels and Click on "+" to create a new label.
Customise the label and click save:
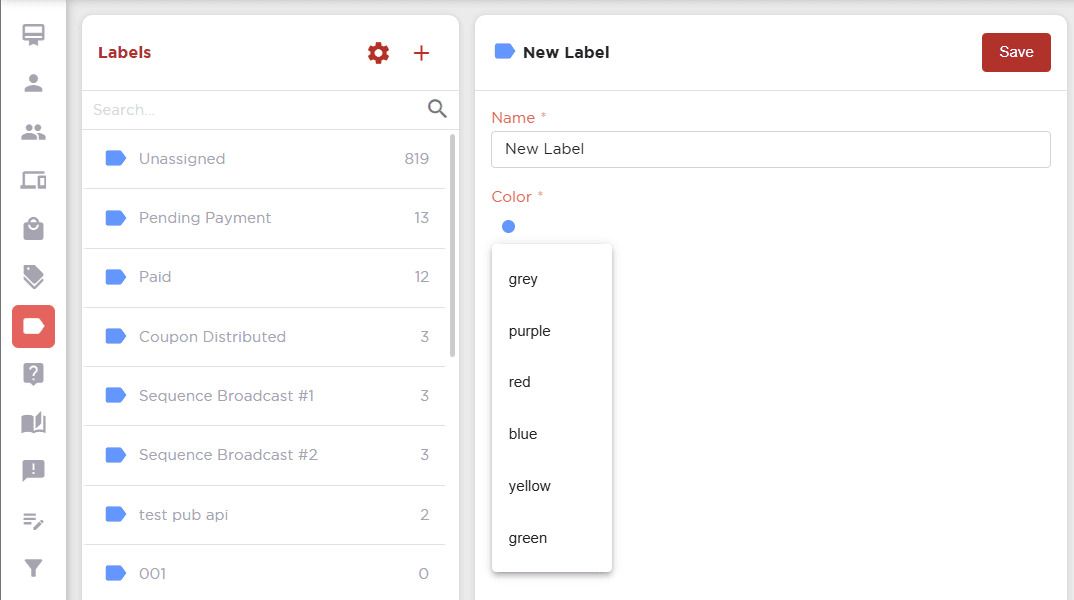
Update the label name
Update label colour- grey/ purple/ red/ blue/ yellow/ green
Commonly used sets of Labels:
English | Chinese
Regular Member | VIP Customer
Subscribed | Unsubscribed | Non-target
Adding labels:
Manual Labelling
Customize labels to segment customers based on unique business needs. Simply go to the Customer Profile Panel in Chatroom, find the Labels segment and type any text to add label. Existing labels will appear as a list as you click on the Add Label column.

Batch Labelling
Need to process a large number of new customers at once? Batch labelling makes it quick and hassle-free.
How to do batch labelling?
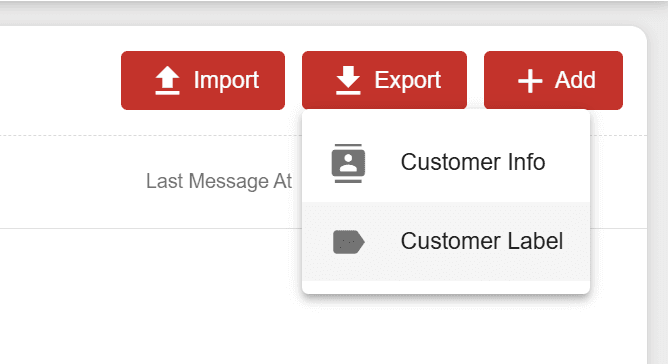
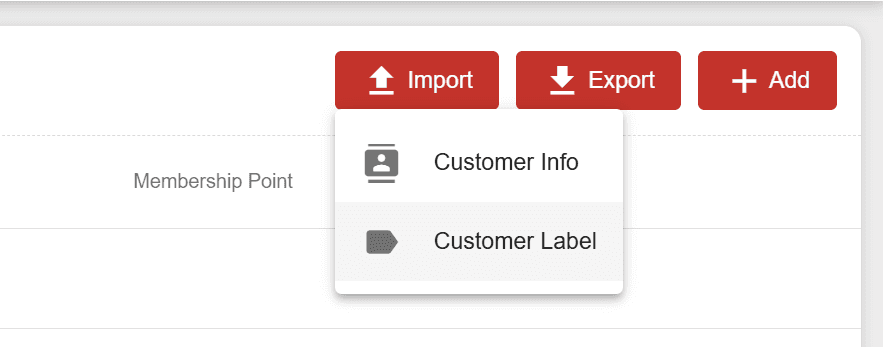
Go to the Customers > Export > Customer Labels
Download the generated Excel file and you will have a table with customer ID and other details, like this:

DO NO edit these columns: ID, First Name, Last Name, Channel, Type, Contact, Label (Read-only), Assigned To, First Message At (Read-only)
The Label (Read-only) column has no data: All three contacts do not have any existing label.
In the Excel file, you can add new labels under the 'Attach Label' column / or remove existing labels from the customer under the ‘Detach Label’.

To demonstrate, let's add these labels:

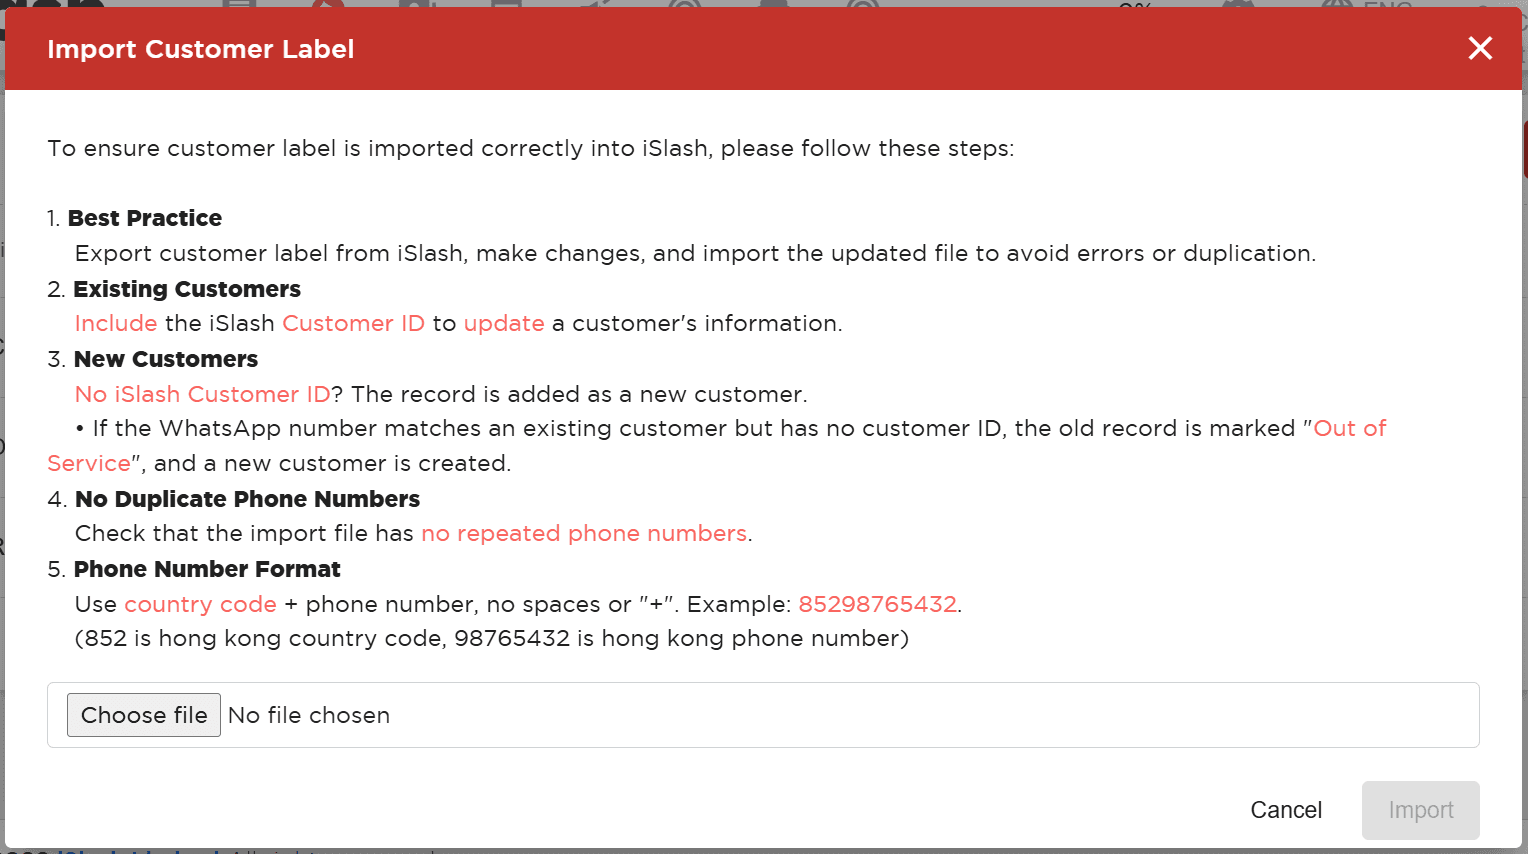
Once you've made the changes, go back to the Customers > Import > Customer Labels.
Upload the updated file to apply the changes.
Important Note: The customer label need to be updated with the right format, for the outcome to be right.
Wait while system integrate your customer information;
Once completed, the import status will be displayed: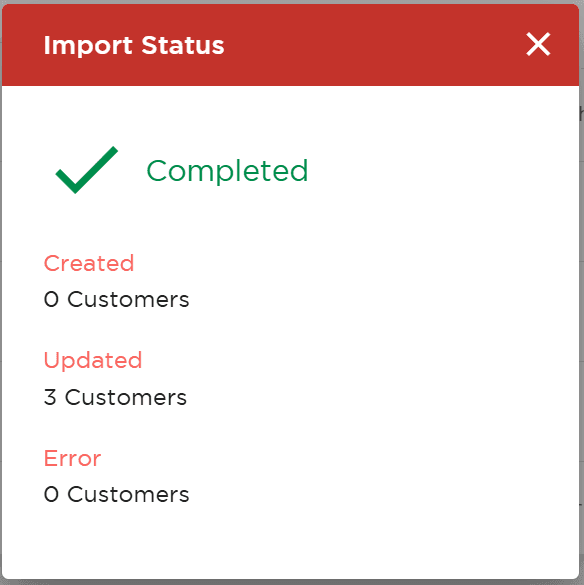
You have successfully imported customer contacts in bulk.
Message and Chatbot-Driven Auto-Labelling
Label widget in No-code Chatbot
Instead of manually assigning tags, iSlash AI’s no-code chatbot automatically labels customers based on their conversations, actions, and inquiries.
Automate labelling during Broadcasting
Attaching a specific label to customers who have been broadcasted to, simplify your follow up process.
Sorting the Labels Sequence
You can sort the labels in accordance to name (A-Z), (Z-A), create time and usage frequency.

To sort the labels' display order, go to Setting, at the pop-up window, select the desired display order option and click "Confirm".

Insights


Can I download a report showing label data?
Yes, you can. Go to Settings > Reports > Generate Customer Reports, then download the Account Summary Report. The Excel file will show a full list of labels, how many contacts are under each label, and the percentage of total contacts.
Learn more : Get to Know Your Customers with Automated Labels!